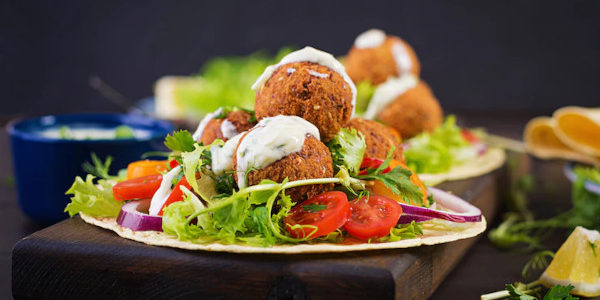
There are so many different angles, lighting preferences, and editing techniques to choose from! Here are five steps to get you started in the right direction.
1. The Basics
When photographing your food, you want to make sure to set up your scene. Here are the basics:
Clear off the area in front of you where you’ll be sitting or standing. You don’t want things distracting from what you’re photographing!
Make sure there is plenty of natural light. This will ensure that your photo isn’t too dark and doesn’t have an orange cast to it.
Place all your food on a solid surface, so it doesn’t slip around while you take the photo.
Consider your background to avoid distractions in the picture.
2. Preparing Your Food
The first step to a great food photo is a well-prepared dish. Make sure that the food is as appealing as possible without going too far with colors and garnishes.
Try to take pictures of your food at the right time, whether it’s just plated or finished cooking. This will make for a more appetizing picture.
3. Framing the Shot
The first thing you need to do is frame your shot. Think about the way the food is positioned on the plate before you take it.
If it’s a sandwich, make sure all of the components are visible. If it’s an ice cream sundae, make sure that the ice cream is melting into a pool of caramel sauce – this is what will capture people’s attention.
If there are no other people in the photo with you, it’s important to be aware of what’s going on in your background. Though it may be tempting to capture a beautiful skyline or museum in the background, this can often distract from your food and make for a less-than-ideal shot.
4. Lighting Your Food
Another thing you’ll need to do is decide on your lighting. Natural light is always best because it’s the most realistic; however, it’s not always possible to shoot with natural light. Some factors that will affect the quality of the shot are the time of day, location, and weather conditions. However, there are plenty of other options for lighting your food!
Option 1: Reflectors
A reflector is a simple tool that can be used to bounce light onto your food. Reflectors come in different styles and colors; some are more effective than others.
If you’re using an iPhone or camera with manual settings, try using a gray/silver reflector to avoid too much contrast between the background and the subject (the food).
Option 2: Artificial Lighting
If you’re interested in working with artificial lights but don’t want to invest in expensive equipment, consider setting up two lamps, one behind and one in front of your subject (food).
This way, you’ll get even lighting without having to worry about figuring out how to balance out natural light. If you are not good at balancing the lights, reach out for professional food photography in Dubai.
5. Editing Your Food Photo
Editing your food photos is a great way to take your food photos to the next level, as it can help you transform a lackluster photo into a stunning masterpiece. The editing process will depend on the photographer’s editing software.
You can edit your food photo using adobe light room or photoshop, or prefer using the free online photo editing software, PicMonkey.
Conclusion
Food photography is a great way to showcase your dishes and get people excited about your new menu. But it can be tough to know where to start.
Luckily, we’ve put together the ultimate guide to food photography in Dubai. Follow these five easy steps, and you’ll be taking beautiful shots in no time!


